The typical lifespan of print on Mylar bags can vary depending on several factors, including the quality of the printing process, the environmental conditions in which the bags are stored or used, and the specific requirements of the application. However, under normal circumstances, the print on Mylar bags is designed to be durable and long-lasting.
Here are some factors that can affect the lifespan of print on Mylar bags:
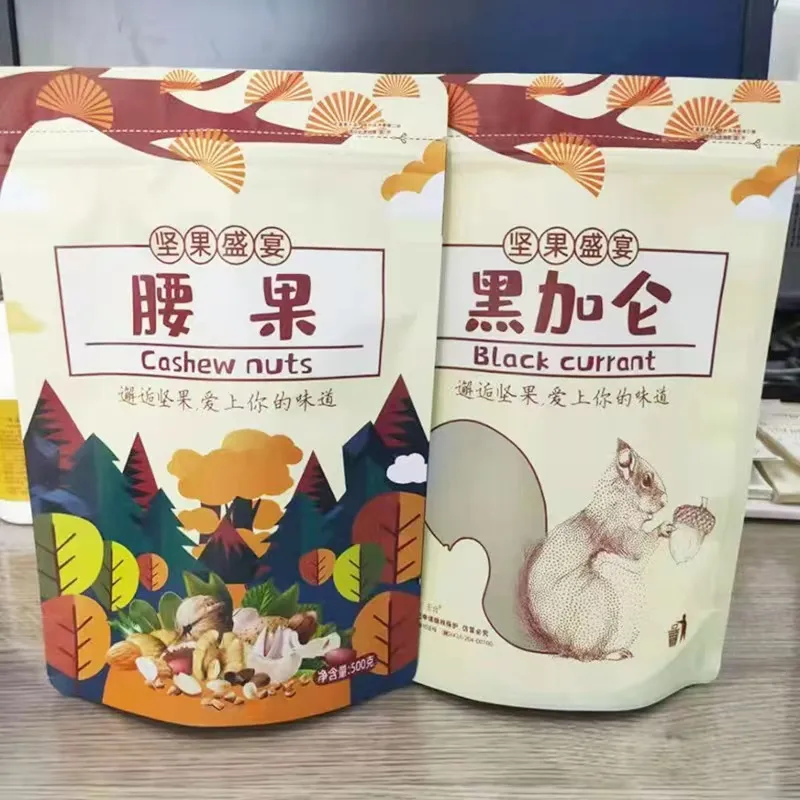
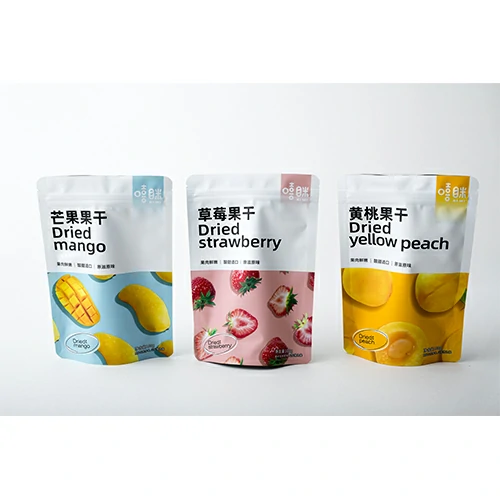
- Quality of Printing: The quality of the printing process, including the type of ink used, the printing technique employed (e.g., digital printing, flexographic printing), and the adherence of the ink to the Mylar surface, can impact the durability and longevity of the print. High-quality printing techniques and materials can result in prints that are more resistant to fading, scratching, and wear over time.
- Environmental Conditions: The environmental conditions in which the Mylar bags are stored or used can affect the lifespan of the print. Exposure to harsh conditions such as direct sunlight, high temperatures, humidity, moisture, or abrasive surfaces can accelerate the deterioration of the print. Proper storage and handling practices, such as storing Mylar bags in a cool, dry, and dark environment, can help prolong the lifespan of the print.
- Usage Intensity: The frequency and intensity of use can also impact the lifespan of the print on Mylar bags. Bags that are subjected to frequent handling, transportation, or manipulation may experience more wear and tear on the printed surface compared to bags that are used less frequently or handled with care.
- Product Contact: If the Mylar bags come into direct contact with food, beverages, or other substances, the compatibility of the printing ink with these materials can affect the print’s durability and safety. Food-safe printing inks that are specifically designed for use on food packaging are recommended to ensure compliance with food safety regulations and to maintain the integrity of the print over time.
- Maintenance and Cleaning: Proper maintenance and cleaning practices can help prolong the lifespan of the print on Mylar bags. Avoiding abrasive cleaning agents or harsh chemicals and using gentle cleaning methods, such as wiping with a soft cloth or damp sponge, can help preserve the print without causing damage.
Overall, the lifespan of print on Mylar bags can vary depending on these factors, but with proper printing techniques, suitable materials, and appropriate care and handling, prints on Mylar bags can remain vibrant and legible for an extended period, ensuring product branding and information are effectively communicated to consumers.